
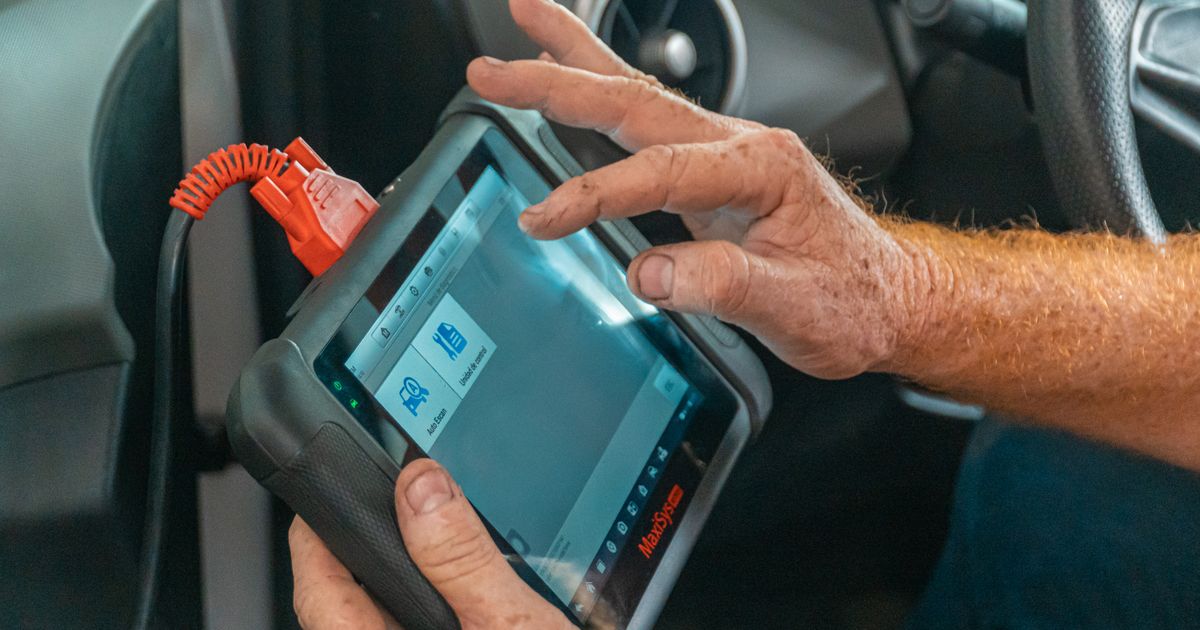
An engine warning light is a request for evidence, not a diagnosis by itself. Start with the way the light behaves, how the car feels and what the handbook says for that model. A flashing lamp, rough running, loss of power, overheating, smoke, a fuel smell or another red warning can change a routine check into a stop-and-recover situation. If the car is stable, record the fault information before anyone disconnects the battery or clears codes. The ten steps below are designed to preserve useful clues, avoid unnecessary parts replacement and help you decide when professional help is the safer choice.
Drivers investigating an engine warning light can use AutoScan for Windows with a compatible ELM327 adapter to read and clear fault codes and view live data, freeze frame and readiness information.
Judge the warning light and the car's symptoms
First note whether the engine lamp stays steadily illuminated or flashes, and whether the engine runs unevenly, loses power or sounds different. A flashing lamp can accompany a severe misfire; unburned fuel may then overheat the catalytic converter, so treat it as urgent. A steady amber lamp still needs investigation and does not, by itself, prove that continued driving is safe. Check the handbook for the exact symbol and record any separate oil-pressure, temperature, charging or brake warning.
For further detail, see RAC guidance.
Move to a safe place before investigating
Keep attention on the road and move somewhere safe before looking at the dashboard or connecting equipment. Stop the engine and arrange recovery if the lamp flashes, the engine shakes badly, power drops sharply, the car overheats, smoke appears or there is a strong fuel smell. A separate red oil-pressure or temperature warning is also a stop signal. With a steady lamp and normal running, use the handbook and professional advice to decide whether a cautious short trip for assessment is appropriate.
For further detail, see AA guidance.
Check only simple external items
With the engine switched off, look only for obvious, safe clues such as a fuel cap that was not refitted after filling or visible damage noted from outside the engine bay. A loose cap can set an evaporative-system fault on vehicles that monitor tank sealing, but this check is not relevant to every model and is not a diagnosis. Do not disconnect the battery, open a hot cooling system or reach near belts and fans. If nothing simple is apparent, preserve the evidence and continue with a scan or professional assessment.
Read the fault codes without guessing the repair
Read both stored and pending diagnostic trouble codes and write down each complete alphanumeric code before doing anything else. A code reports the system or monitor that detected an unexpected result; its description is a starting point, not a verdict on the component named. Look for related codes and compare the evidence with service information for the exact vehicle. Do not order a sensor, valve or converter solely because its name appears in a generic description, and do not erase the record before the diagnosis begins.
Save freeze-frame and readiness information
Freeze frame is a snapshot of selected operating values saved when a relevant fault is stored; the available items vary by vehicle and it may not be the precise instant you first noticed the lamp. Record coolant temperature, engine speed, load, fuel-control values, speed and any other available parameters. Also save whether each emissions-readiness monitor is complete. Clearing codes can erase freeze-frame evidence and reset readiness status, so capture both before a reset or battery disconnection changes the record.
Look for related codes and low-voltage clues
Consider the codes as a group rather than treating each one as a separate failed part. Several modules reporting voltage or communication faults can point towards a shared power-supply, earth or network problem, but the battery and charging system still need proper testing before drawing that conclusion. Likewise, one root fault can cause secondary codes elsewhere. Record which codes are stored or pending, check when they appeared and test the shared basics before replacing components.
Check recalls and vehicle-specific information
Use the official GOV.UK recall checker and the manufacturer’s service to look for outstanding safety work; a diagnostic scan cannot confirm whether a recall applies or has been completed. Recall information is separate from a fault-code diagnosis, although the symptoms may occasionally overlap. Consult the handbook for the meaning of the exact lamp and the manufacturer’s immediate-action advice. For testing values and repair procedures, use workshop information written for the vehicle’s model, engine and build date rather than a generic code list.
Decide whether the car should be driven
Do not make the decision from the lamp colour alone. Stop and seek recovery when the lamp flashes, the engine runs roughly, power falls sharply, the vehicle overheats, smoke or a fuel smell appears, or another serious red warning is present. If the lamp is steady, the car feels normal and the handbook permits continued travel, a cautious short journey for assessment may be reasonable. Avoid heavy load and stop if the condition changes; when uncertain, recovery is safer than testing the limit on the road.
Repair the cause rather than clearing the evidence
Erasing a code removes stored evidence and may switch the lamp off temporarily, but it does not repair the condition that set it. A sound diagnosis tests the likely causes in a sensible order, which may include power and earth connections, wiring, air or exhaust leaks and the component’s actual signal. Repair the confirmed cause, retain notes of the original evidence and clear codes only when that is part of the verification plan. If the work is beyond your equipment or competence, use a qualified technician.
Verify the repair and monitor what returns
After the cause has been repaired, scan again and confirm that the original symptoms and relevant codes do not return. Clearing codes can reset emissions-readiness monitors to incomplete, so record their status first and allow the vehicle’s normal checks to run according to model-specific information. Any road check must be legal, safe and appropriate to the repaired fault; a workshop may be the right place to perform it. Treat a returning pending or stored code as new evidence, not proof that the same part has failed again.
Use the code as evidence, not a parts list
A diagnostic trouble code identifies the system or test that noticed an unexpected result; it does not prove that the component named in the description has failed. Before clearing anything, save the full code, whether it is stored or pending, the freeze-frame values and any symptoms you observed. Compare those clues with vehicle-specific workshop information. Wiring, air or exhaust leaks, low voltage and related faults can produce similar codes, so replacing the first part mentioned is an expensive way to guess.
Know the limits of a scan
Standard OBD information is useful, but it is only one layer of a diagnosis. Braking, airbag, high-voltage and manufacturer-specific systems may need compatible equipment and trained handling. A scan also cannot confirm that a safety recall has been completed: use the manufacturer or the official GOV.UK recall service. If the car runs roughly, loses power, overheats, shows a red warning, smells of fuel or makes an unusual mechanical noise, stop and seek qualified help rather than continuing a test drive.
Next steps
A sensible response to an engine warning light is calm, evidence-led and specific to the vehicle. Record what happened, preserve the codes and freeze-frame values, and use those clues with the handbook or proper workshop information. Do not treat a code description as an instruction to buy a part. If the warning flashes, the car runs badly or another serious symptom appears, stop and seek qualified help. After a verified repair, scan again and monitor what returns rather than assuming that clearing the light completed the job.
